What are Custom Fields on the New/Edit Appointment Page?
The New/Edit Appointment Page (shown below) is accessed when a user creates or edits an appointment on SUMO Desktop. The “Other Information” section highlighted in yellow is where any custom fields will appear that you add.
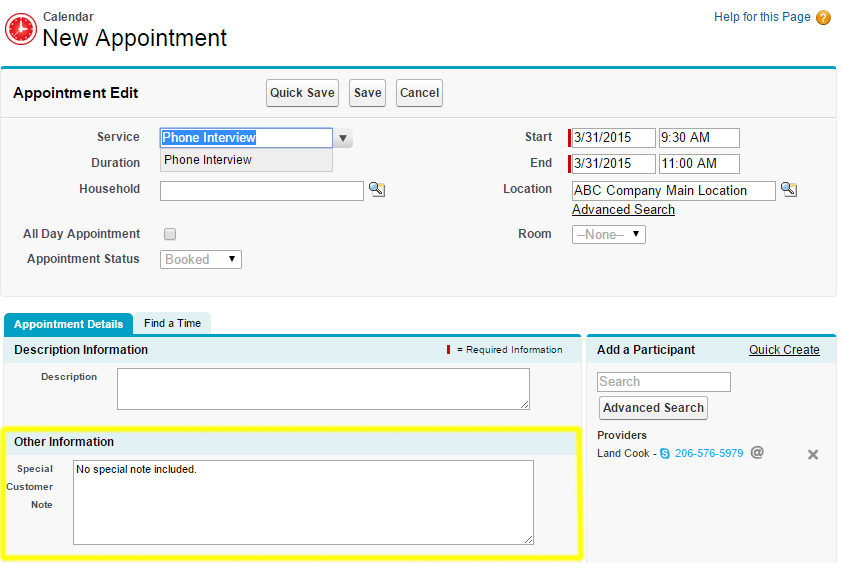
Click to enlarge.
How do I create a Custom Field to add to the New/Edit Appointment Page?
This “Create Custom Fields” article includes a video and will help you learn how to create any custom field you wish, including text fields, currency fields, picklist fields, multi-select picklist fields, checkboxes, URLs, and more.
How do I add Custom Fields to the New/Edit Appointment Page?
- On the far right of the main tab nav bar, click on +.
- Scroll down and click on SUMO Admin Settings.
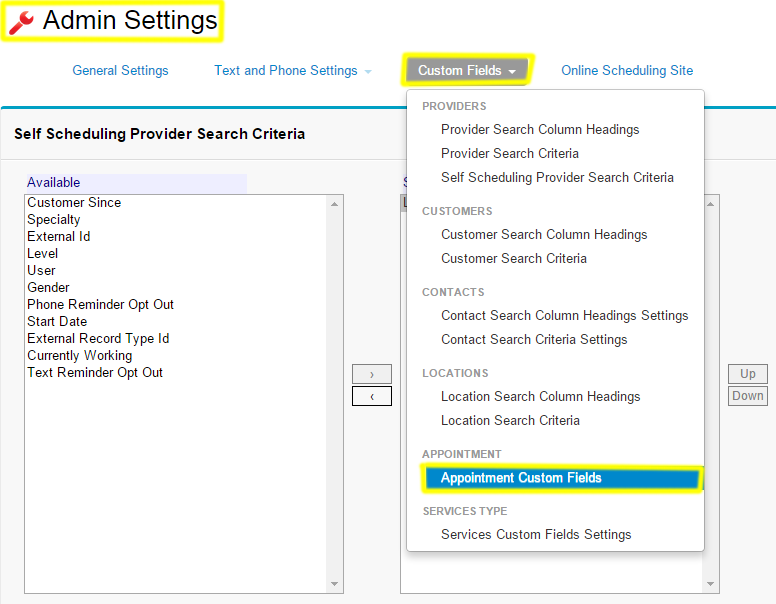
- Click on the “Custom Fields” tab (shown below).
- Click on the “Appointment Custom Fields” option.
- Highlight the custom fields on the left side that you would like to add and click the right arrow to add it.
- You may then use the up and down arrows to control where these fields get displayed on the New/Edit Appointment Page.
- Click Save and return to the New/Edit Appointment Page and confirm your custom field is showing.
Click to enlarge.